How to Make a Charcuterie Board: 7 Steps That Look Expensive
This post contains affiliate links. If you click through and make a purchase, I may earn a small commission at no extra cost to you. As an Amazon Associate I earn from qualifying purchases.
Learning how to make a charcuterie board comes down to structure, not expense. A generous board follows a simple order of placement, and that order is what makes it look abundant.
I have built boards for small dinners, holiday open houses, and quiet evenings with one good bottle. The method below is the one I return to every time.
To make a charcuterie board, set small bowls down first, then place two to four cheeses spaced apart. Fold the cured meats around them and fill open areas with crackers and bread. Finish with fruit, nuts, olives, and herbs until no gaps remain.
Table of Contents
What Goes on a Charcuterie Board
Quick takeaway: Every board draws from the same five components, and balance between them matters more than quantity.
A charcuterie board is a shared platter of cured meats, cheese, and the things that taste good beside them. The word charcuterie refers to prepared meats, but the modern board includes much more.
Think in five groups. Each one plays a different role in flavor, texture, and color.
- Cheeses: the anchor of the board, ideally with a range of textures and milk types.
- Cured meats: prosciutto, salami, soppressata, capicola, or a local favorite.
- Accompaniments: olives, pickles, honey, jam, mustard, and chutney.
- Crackers or bread: plain enough to carry the other flavors.
- Extras: fresh fruit, dried fruit, nuts, and fresh herbs for color.
You do not need every item in every group. Three cheeses, three meats, and a few thoughtful extras look more polished than twenty crowded ingredients.
Aim for contrast. Pair something creamy with something firm, something salty with something sweet, and something soft with something crisp.
How to Make a Charcuterie Board, Step by Step
Quick takeaway: Build from the largest items to the smallest, and the board will look full and intentional.
The order of placement is the real technique behind how to make a charcuterie board look generous. Large items set the structure, and small items fill the spaces between them.
Follow these seven steps in sequence. Each one takes only a few minutes.
Step 1: Choose the Board and Set the Bowls
Start with a wooden board, a marble slab, or a large platter. Wood looks warm and relaxed, while marble keeps cheese cooler for longer.
Place two or three small bowls on the board first. They hold wet items like olives, honey, jam, and pickles, so the juices stay contained.
Spread the bowls out rather than grouping them. Uneven spacing gives the eye several points of interest.
Step 2: Place the Cheeses
Set the cheeses next, spaced apart across the board. Leave room around each one for a knife and for guests to reach in.
Cut some of each cheese before serving and leave part of it whole. Guests are more comfortable taking from a piece that is already started.
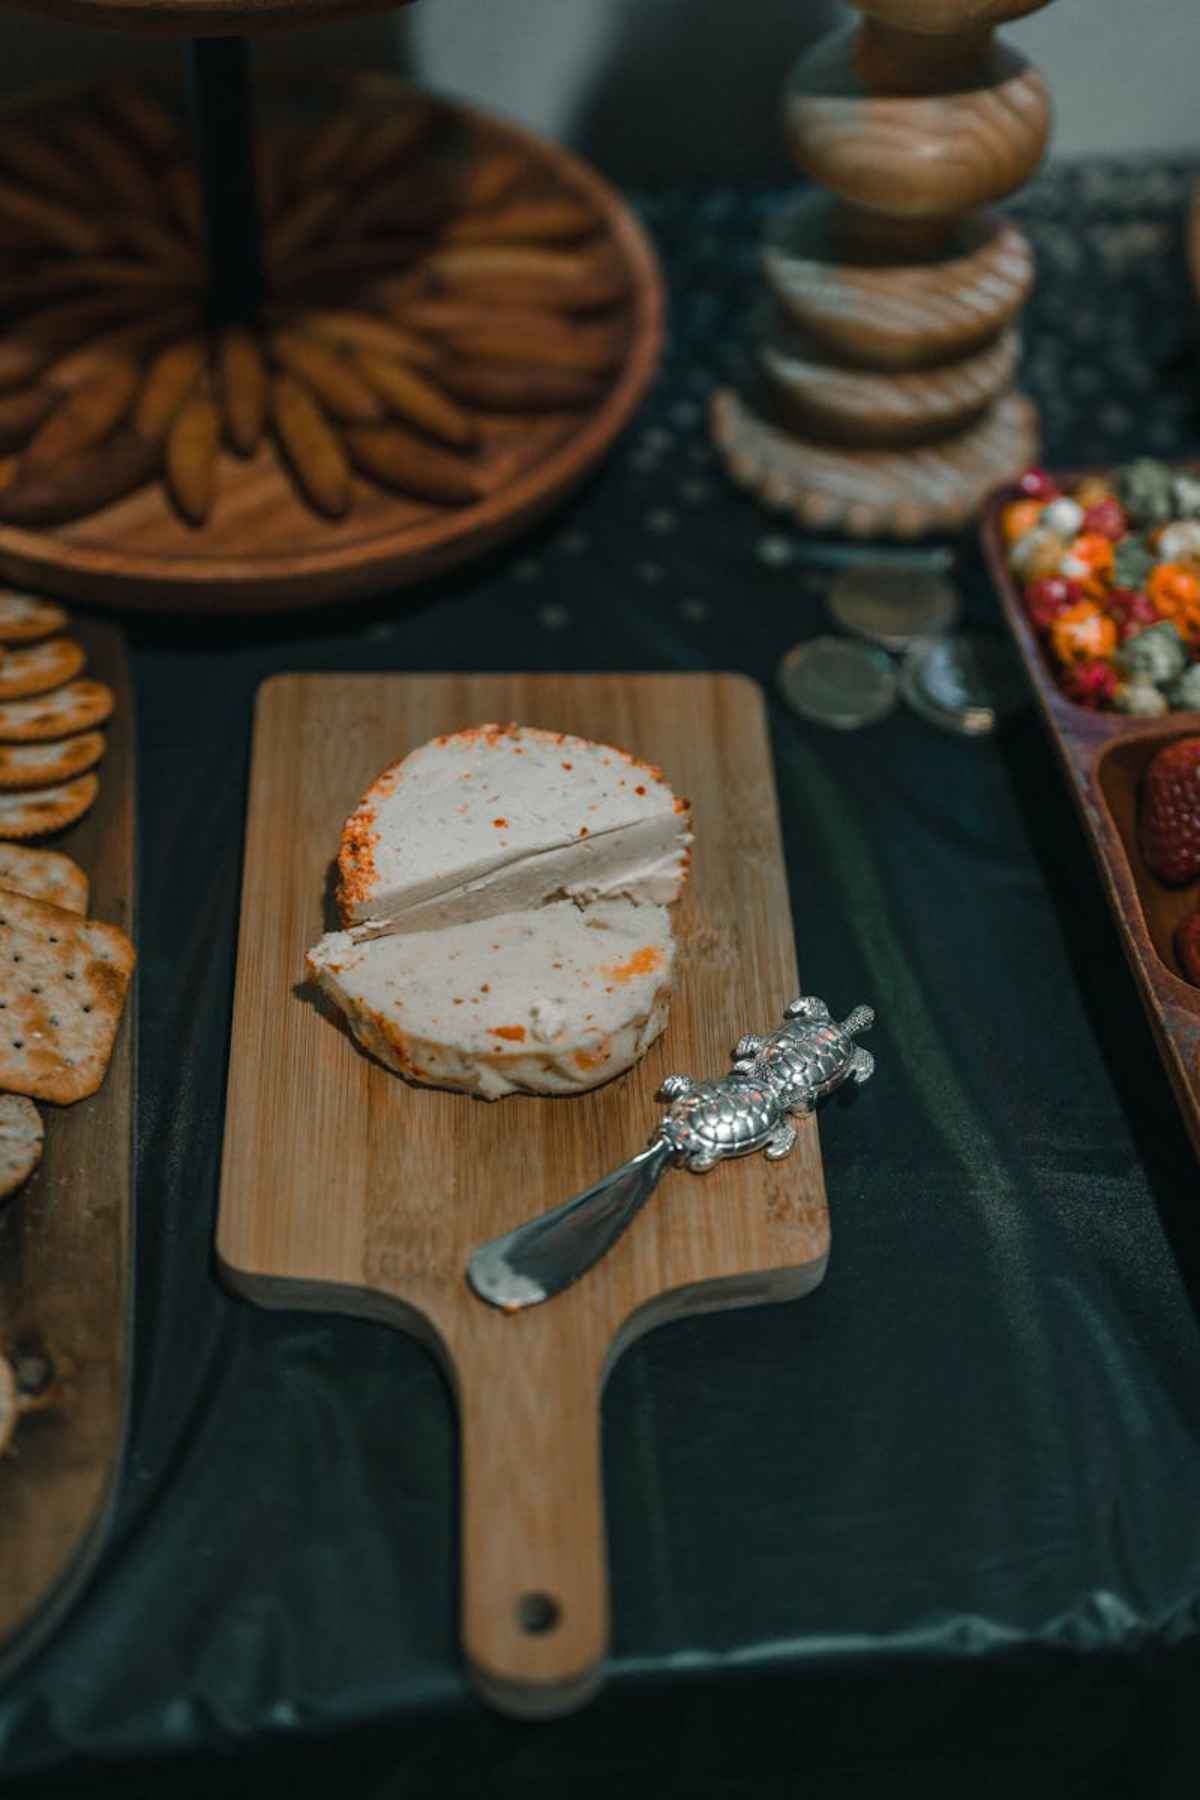
Slice firm cheeses into thin wedges or small cubes. Leave soft cheeses whole with a small knife beside them.
Step 3: Fold and Fan the Meats
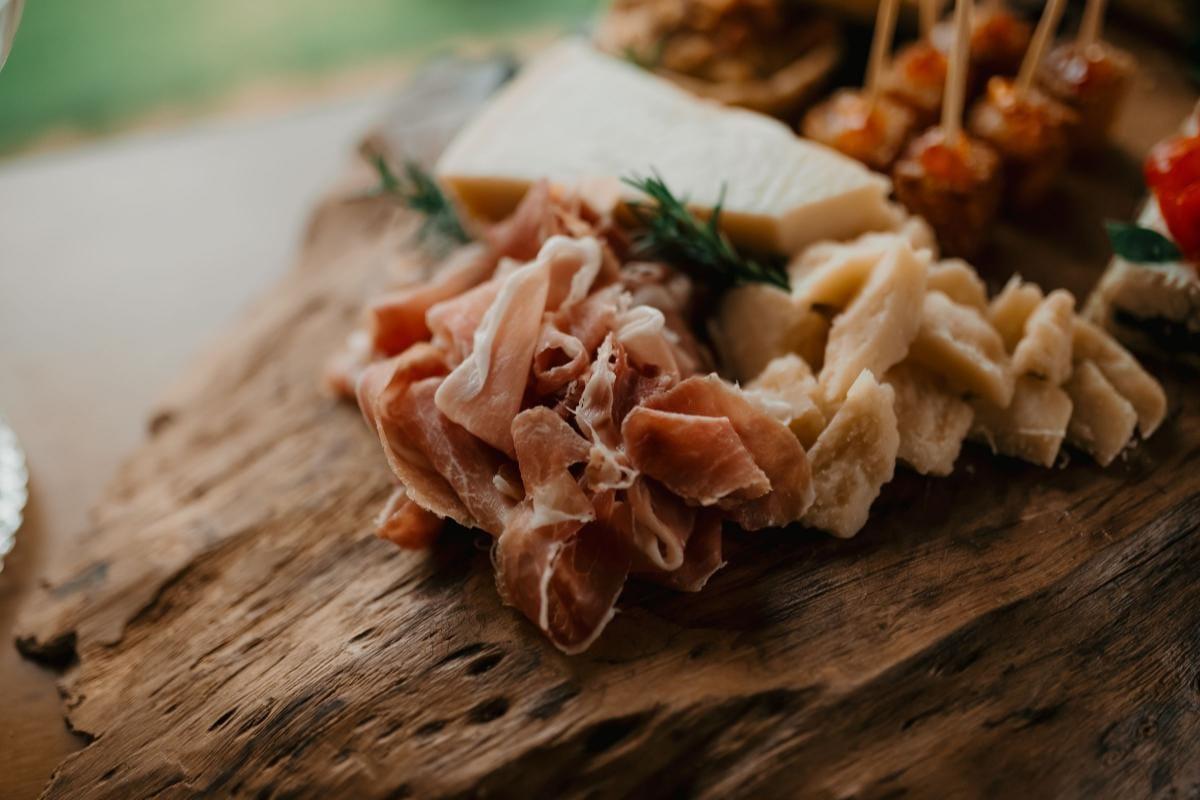
Arrange the cured meats in the spaces between the cheeses. Folding them adds height, which makes the board look fuller.
Keep each meat in its own group. A single cluster of prosciutto reads as more deliberate than slices scattered everywhere.
Run one meat in a loose line or river across the board. It creates movement and leads the eye from one side to the other.
Step 4: Add Crackers and Bread
Tuck crackers and sliced baguette along the edges and in the larger gaps. Stand some upright to create layers.
Choose plain or lightly seasoned crackers. Strong flavors compete with the cheese rather than supporting it.
If the board is small, serve extra crackers in a basket on the side. That keeps them crisp and the board uncluttered.
Step 5: Add Fresh and Dried Fruit
Fruit brings color and freshness to a board heavy with salt and fat. Grapes, figs, sliced pears, and berries all work well.
Place grape clusters whole, since they add height and are easy to pull apart. Slice apples and pears just before serving so they stay pale.
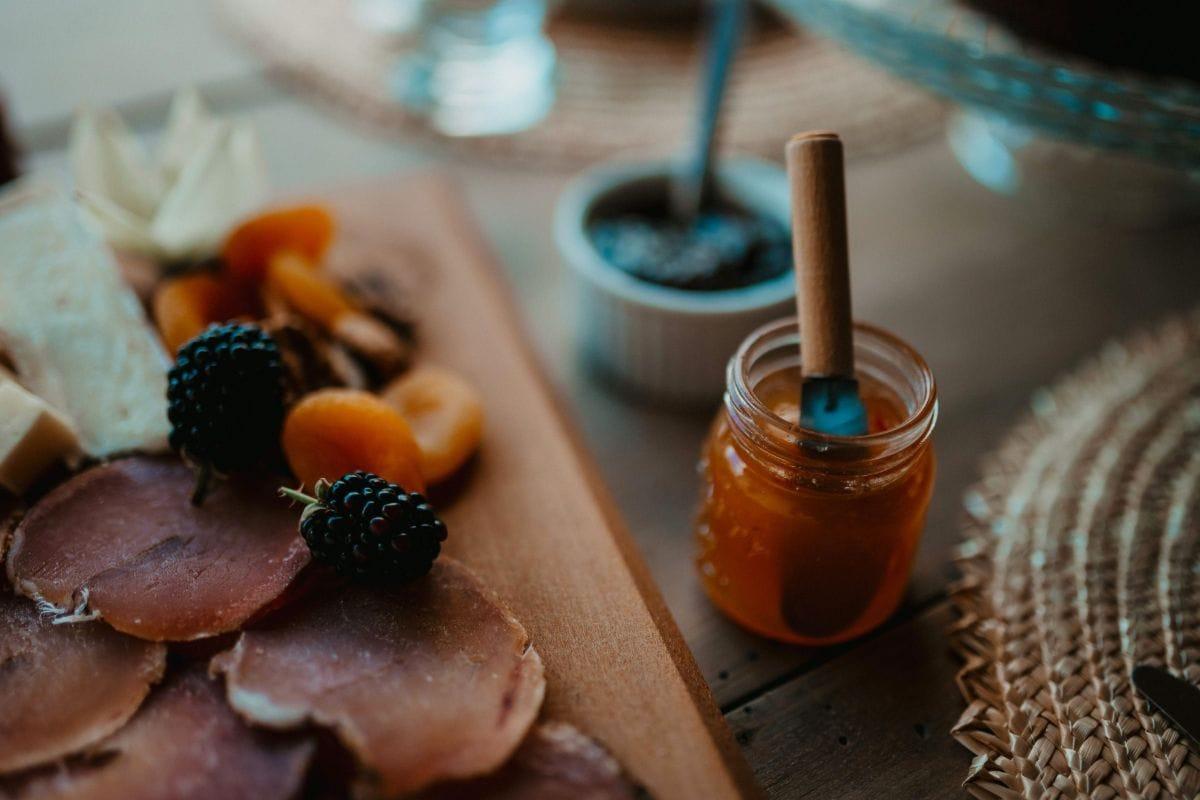
Dried apricots, dates, and dried figs add sweetness without juice. They are also a practical choice for boards that sit out longer.
Step 6: Add Nuts, Olives, and Pickles
Scatter nuts in the medium gaps. Marcona almonds, candied pecans, and pistachios all pair well with cheese.
Fill the bowls with olives and pickles for a sharp, briny contrast. Cornichons are a classic partner for cured meat.
Place a small spoon in each bowl. Guests should never need to reach in with their fingers.
Step 7: Close the Gaps and Finish
Look at the board from above and fill any empty spaces. A few more crackers, nuts, or berries usually solve it.
Finish with fresh herbs such as rosemary or thyme. They add green color and a light aroma.
Add a small drizzle of honey over a soft cheese last. Set out small plates, napkins, and a knife for each cheese.
How Much Charcuterie Per Person
Quick takeaway: Plan by the role of the board, since an appetizer board needs far less than a dinner board.
The right amount depends on whether the board is a starter or the main event. Guests eat very differently in each case.
For an appetizer board, a common guideline is 2 to 3 ounces of meat and cheese per guest. For a board that replaces dinner, plan closer to 5 to 6 ounces per guest.
Treat these as starting points, not strict rules. Adjust for your guests, the length of the event, and what else is on the table.
Appetizer Board
An appetizer board comes before a full meal. Keep it light so guests still have room for dinner.
Two or three cheeses and two meats are usually enough. Add plenty of fruit and crackers to keep it looking generous.
Main Board or Grazing Table
A board served as the meal needs more protein and more variety. Include four or five cheeses and three or four meats.
Add heartier items such as marinated vegetables, a dip, or a second bread. These make the board feel like a complete meal.
Scaling for a Crowd
For a large group, build two or three medium boards instead of one very large one. Smaller boards are easier to refill and let guests spread out.
Keep a reserve of each item in the kitchen. Refill from the back as the board empties, rather than rebuilding it.
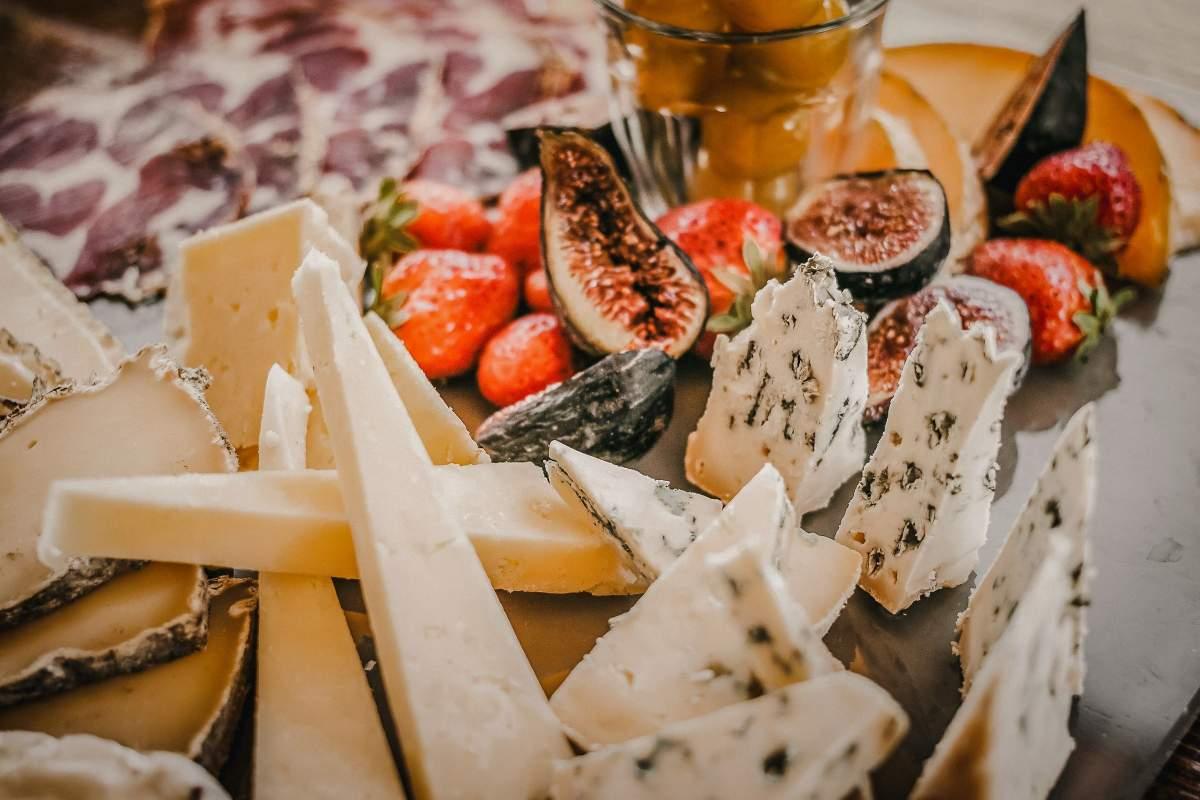
Choosing the Cheese
Quick takeaway: Choose cheeses that differ in texture and milk type, so each bite on the board feels distinct.
The best boards offer a range. Pick cheeses from different texture groups, and mix cow, goat, and sheep milk where you can.
Three cheeses cover most boards well. Add a fourth or fifth for a larger group.
Soft Cheese
Soft cheeses are creamy and mild, and they balance salty meats. Brie, Camembert, and fresh goat cheese are reliable choices.
Serve soft cheese at room temperature so the texture relaxes. Take it out of the refrigerator about an hour before guests arrive.
Semi-Hard Cheese
Semi-hard cheeses are the easiest crowd pleasers. Gouda, Manchego, Gruyere, and a good aged cheddar all slice cleanly.
These cheeses hold their shape well on a board. They are also the most forgiving with a wide range of wines.
Hard Cheese
Hard, aged cheeses bring depth and a pleasant crunch. Parmigiano Reggiano and aged Gouda often have small crystals that add texture.
Break hard cheese into rough chunks rather than slicing it. The jagged pieces look natural and are easy to pick up.
Blue Cheese
A blue cheese adds boldness and contrast. Gorgonzola, Stilton, and Roquefort are the classic options.
Not every guest enjoys blue cheese, so serve a smaller piece. Pair it with honey or fig jam to soften the sharp edge.
Choosing the Meats
Quick takeaway: Pick two to four cured meats with different textures, and fold each one so it holds its shape.
Cured meats bring salt and richness to the board. A mix of thinly sliced and firmer meats gives guests variety.
Buy meats sliced to order when you can. Fresh slices fold more easily and taste better than prepackaged ones.
Prosciutto
Prosciutto is a dry-cured Italian ham with a delicate, silky texture. It is sliced so thin it can tear easily.
Drape each slice loosely into soft folds or ribbons. You can also wrap it around melon or breadsticks for an easy bite.
Salami
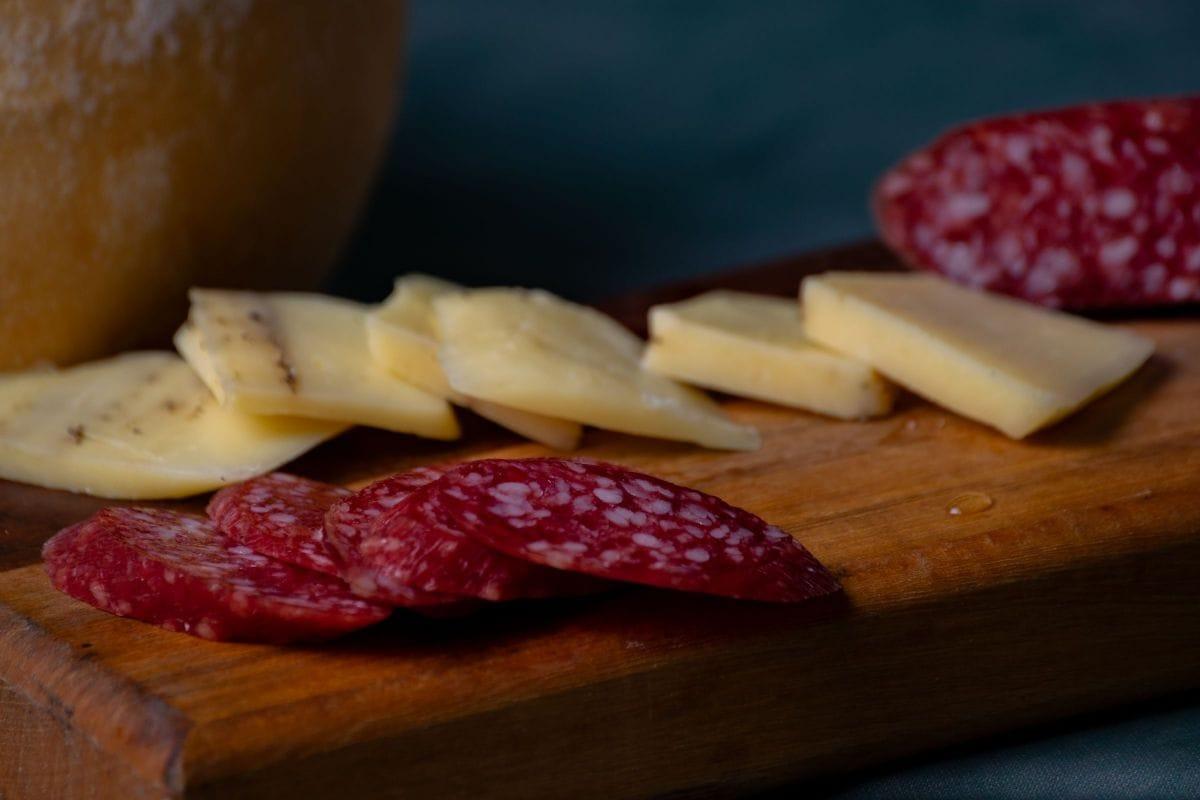
Salami is a firm, fermented sausage with a savory, slightly tangy flavor. Its round slices are easy to fold.
Fold each slice in half, then in half again, to make a small quarter round. Line the folds up in a row so they fan open.
Soppressata
Soppressata is a coarser Italian salami, often with a little heat. It brings more texture than standard salami.
Fan the slices in an overlapping line. The rough grind shows clearly and adds visual interest.
Capicola
Capicola, also called coppa, is cured pork shoulder with a marbled look. It sits between prosciutto and salami in texture.
Roll each slice into a loose cylinder, or fold it into a soft ribbon. Its marbling shows well either way.
For a vegetarian guest, set aside a small section with extra cheese, marinated vegetables, and nuts. Keep it clearly separate from the meats.
Accompaniments and Extras
Quick takeaway: Accompaniments supply the sweet, sour, and crunchy notes that keep the board from tasting one-dimensional.
The extras are where a board gains personality. They also bridge the flavors between the cheese and the meat.
Fresh and Dried Fruit
Grapes, figs, pears, apples, and berries add freshness. Dried apricots, dates, and cranberries add concentrated sweetness.
Choose fruit that is in season. It looks better, tastes better, and keeps the board tied to the time of year.
Nuts
Nuts add crunch and fill small gaps well. Marcona almonds, walnuts, pistachios, and candied pecans are all good choices.
Offer at least one salted and one sweet nut. The contrast works well with both cheese and wine.
Olives and Pickles
Briny items cut through the richness of cheese and meat. Castelvetrano olives, cornichons, and pickled onions are common picks.
Pickles deserve more thought than they usually get. Our guide to the best pickles for charcuterie covers the options in detail.
Spreads and Condiments
Honey, fig jam, and whole grain mustard each pair with different cheeses. Honey suits blue and soft cheese, while mustard suits cured meat.
Serve each spread in a small bowl with its own spoon. That keeps flavors from mixing across the board.
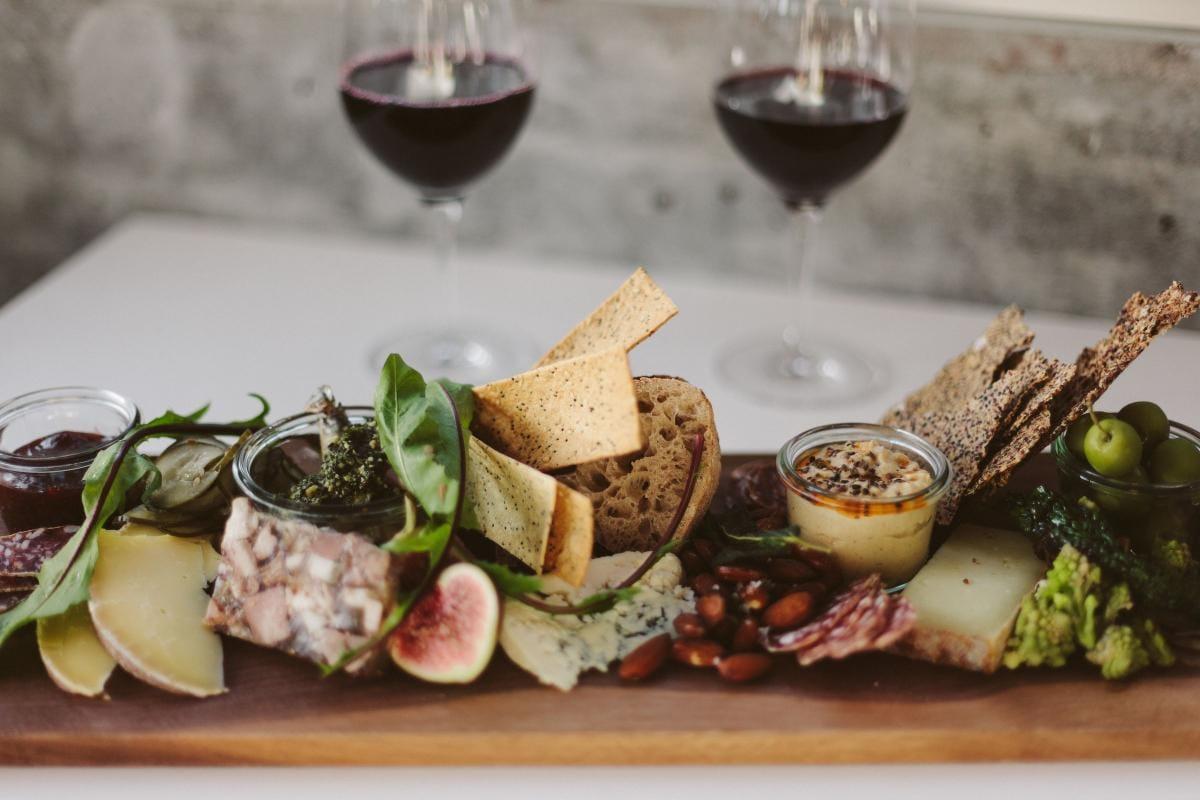
Wine Pairing for a Charcuterie Board
Quick takeaway: Match the wine to the cheese first, then check that it works with the meats.
My WSET Level 1 training is why I build the wine pairings around the cheese, not the other way around. Cheese has the strongest influence on how a wine tastes beside it.
A board has many flavors, so choose wines that are flexible. Bright acidity and moderate tannin suit the widest range of foods.
If you want a primer on the main styles before choosing, start with our guide to the types of wine. It explains the differences between red, white, rose, sparkling, and dessert wine.
For a Soft Cheese Board
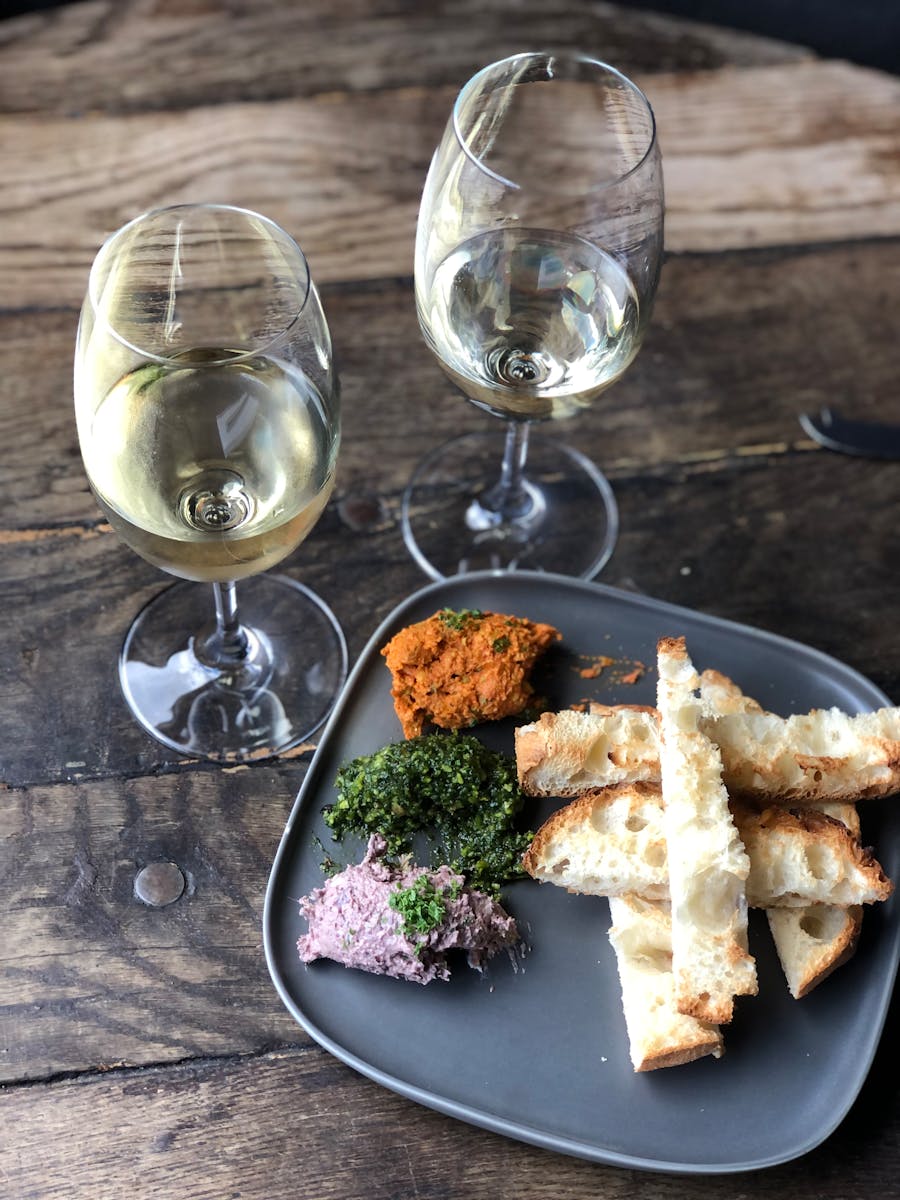
Soft, creamy cheeses pair well with crisp white wine and sparkling wine. The acidity and bubbles cleanse the palate between bites.
Sauvignon Blanc works especially well with goat cheese. Sparkling wine is a reliable match for Brie.
For a Hard Cheese and Salami Board
Aged cheeses and firm salami can stand up to a medium red. Light, fruity reds pair well without overwhelming the food.
Pinot Noir is a flexible choice here. Its gentle tannin suits both cheese and cured meat.
For a Blue Cheese Board
Blue cheese pairs well with sweet wine. The sweetness balances the salt and strong flavor of the cheese.
A lightly sweet, low alcohol wine such as Moscato d’Asti is a gentle option. A Riesling with some sweetness also works well.
For a Mixed Board and a Mixed Crowd
When the board covers every style, offer one white and one red. Guests can move between them as they try different cheeses.
If you are hosting guests who are new to wine, our list of the best wine for beginners offers easy, approachable picks.
For broader guidance on matching bottles to food, see our wine and food pairing guide.
Tools and Serving Pieces
Quick takeaway: A few simple tools make the board easier to build and easier for guests to enjoy.
Knowing how to make a charcuterie board does not require specialty equipment. A handful of basic pieces covers almost every situation.
- A board or platter large enough to hold everything without crowding.
- Two or three small bowls for olives, honey, jam, and pickles.
- A separate knife for each cheese, so flavors do not transfer.
- Small spoons for spreads and a pair of tongs or picks for meats.
- Small plates and napkins placed beside the board.
A dedicated cheese knife set is useful if you host often. A soft cheese knife, a hard cheese knife, and a small spreader handle most boards.
Size the board to the group. A board that is too large looks sparse. One that is too small looks crowded and is hard to reach.
Common Mistakes to Avoid
Quick takeaway: Most board problems come from crowding, poor spacing, or serving cheese too cold.
A few small errors can make even good ingredients look careless. Each one is easy to avoid once you know it.
1. Serving Cheese Straight From the Refrigerator
Cold cheese tastes muted and feels firm. Let it rest at room temperature for about an hour before serving.
2. Placing Everything in Neat Rows
Straight rows can look stiff and uninviting. Spread items across the board and repeat colors in different places.
3. Crowding Too Many Ingredients
More ingredients do not always mean a better board. A few well chosen items look more considered than a crowded mix.
4. Letting Wet Items Touch Crackers
Olives, pickles, and jam will soften crackers quickly. Keep wet items in bowls and place crackers away from them.
5. Forgetting the Knives and Spoons
Guests hesitate when there is no easy way to serve themselves. Set out a knife for each cheese and a spoon for each spread.
Make Ahead and Storage
Quick takeaway: Prep the components early, assemble close to serving time, and add the delicate items last.
Part of learning how to make a charcuterie board is knowing what to prep early. The key is staging it in the right order. Most of the work can happen several hours before guests arrive.
What to Prep Early
Slice firm cheeses, portion the meats, and fill the bowls a few hours ahead. Cover each item and keep it refrigerated.
You can also assemble the cheese and meat on the board, cover it tightly, and refrigerate it. Leave out the crackers and cut fruit.
What to Add Last
Add crackers and bread right before serving so they stay crisp. Slice apples and pears at the last moment so they do not brown.
Drizzle honey and add fresh herbs at the very end. Both look best when they are freshly placed.
How Long a Board Can Sit Out
Cheese and cured meat are perishable, so they should not sit out indefinitely. The USDA advises that perishable food should not stay at room temperature for more than two hours.
You can read the full guidance on the USDA food safety page. For a longer event, set out a smaller board and refresh it from the refrigerator.
Storing Leftovers
Wrap leftover cheese in wax paper or cheese paper, then place it in a loose container. Plastic wrap alone can trap moisture and affect the texture.
Store leftover cured meats in an airtight container in the refrigerator. Keep crackers in a sealed container at room temperature.
Seasonal and Themed Board Ideas
Quick takeaway: Once the basic method is familiar, the same structure adapts to any season or occasion.
The method for how to make a charcuterie board stays the same for every occasion. Only the ingredients change with the season and the event.
Breakfast Board
A breakfast board swaps cured meats for smoked salmon or bacon and adds croissants, soft cheese, and fresh fruit. Serve it with coffee or sparkling wine for a relaxed brunch.
Holiday Board
A holiday board leans on warm, rich flavors. Think aged cheddar, candied pecans, cranberries, rosemary, and a good blue cheese.
Dessert Board
A dessert board replaces most of the meat with chocolate, cookies, and fruit. Keep one or two cheeses, such as mascarpone or a mild Brie, for balance.
Date Night Board
A date night board is small and considered. Choose two cheeses, one meat, a few figs, and a bottle you both enjoy.
Frequently Asked Questions
Quick takeaway: Short answers to the questions hosts ask most often about building a board.
What goes on a charcuterie board?
A charcuterie board usually includes cheeses, cured meats, crackers or bread, and accompaniments. Common accompaniments are fruit, nuts, olives, pickles, honey, and jam. Aim for a mix of textures and flavors.
How much charcuterie do you need per person?
For an appetizer board, a common rule of thumb is 2 to 3 ounces of meat and cheese per guest. Plan closer to 5 to 6 ounces per guest when the board replaces dinner.
How far ahead can you make a charcuterie board?
You can prep and arrange the cheese and meat a few hours ahead, covered and refrigerated. Add crackers, cut fruit, honey, and herbs right before serving so they stay fresh.
What wine pairs with a charcuterie board?
Flexible wines with bright acidity work best. Sparkling wine and Sauvignon Blanc suit soft cheese. Pinot Noir suits aged cheese and salami, while a sweet wine suits blue cheese.
What is the difference between a charcuterie board and a cheese board?
Charcuterie refers to cured and prepared meats, while a cheese board focuses on cheese. Most modern charcuterie boards include both, along with fruit, nuts, and crackers.
How do you keep a charcuterie board from looking empty?
Place the largest items first, then fill every gap with smaller items. Fold meats for height, stand crackers upright, and finish with herbs and small fruit.
Final Thoughts
Quick takeaway: A well built board depends on order and balance, not on the number of ingredients.
Once you know how to make a charcuterie board, you can build one for any occasion. Start with the bowls and cheese, then work down to the smallest details.
Choose a wine that suits the cheese, set the board out close to serving time, and let guests help themselves. The simplest boards are often the ones people remember.
Save this guide to your Pinterest board so the seven steps are close at hand the next time you host. The overhead board photo and the step by step layout both make useful pins for planning.
Continue Exploring Luxury
Everything you need for wine, food and entertaining, in one place.
📖 Get the Free Luxe Living Starter Guide